Scotland migrating to the new, hosted Vision clinical system
Whether you currently use Vision Aeros, Vision LAN, or EMIS, all general practices in Scotland will soon be migrating to the new version of the Vision clinical system: hosted Vision.
The good news for all practices using Lexacom in Scotland is that Lexacom fully integrates with all versions of Vision.

Summary
If you are on Vision Aeros already you don’t need to do anything.
If as part of the reprovisioning you are moving from Vision LAN or EMIS Web there are a couple of things that need to be done to ensure the integration continues to work.
Which version of Vision am I on?
- If you have a second desktop, you’re on Vision Aeros. If you have a desktop icon for Vision, you’re on Vision LAN.
Practices currently using EMIS or Vision LAN need to make a change in the Lexacom Admin account (amend the clinical system), and install a small application called Lexacom RDP Client 1.1.1.exe on each workstation. A combination of the Lexacom administrator, our helpdesk and Health Board IT will complete these steps.
All practices that are moving to hosted Vision need to ensure Cegedim have installed the Lexacom RDP as part of their configuration.
For practices currently using Vision Aeros, no changes are required to Lexacom or Workstations.
Moving from EMIS or Vision LAN to Hosted Vision
Change in Lexacom Admin (to be completed by practice staff)
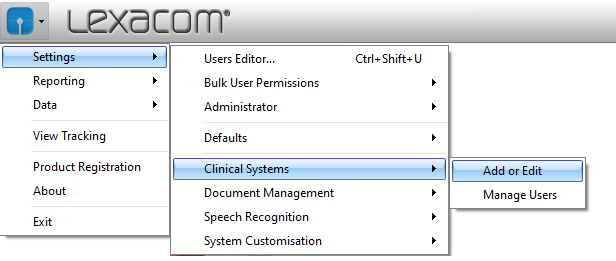
- Log in to Lexacom Admin, and navigate to: Settings > Clinical Systems > Add or Edit
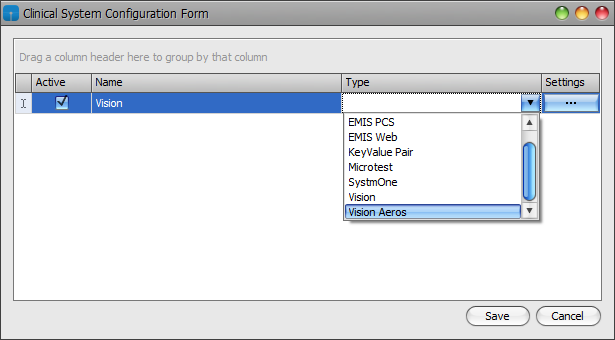
- Amend the Type to Vision Aeros. Also change the Name text to Vision if required. Press Save.
Changes to workstations (to be completed by Lexacom / Health Board IT)
- It is necessary to run the Lexacom RDP Client 1.1.1.exe on each workstation that runs Lexacom. Usually this will require admin rights. Restart the workstation after installing
The sequence to Enable Lexacom to Integrate with Vision for all practices
Ensure Cegedim are aware that Lexacom is used, they will install the Lexacom RDP server as part of their setup. To integrate Lexacom with Hosted Vision, follow these steps.
- Start your Vision Remote Desktop Connection
- Login to your Vision Remote Desktop Connection
- Once logged in, find the following shortcut on the Remote Desktop:
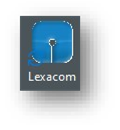
- Double click the shortcut
- This will load the Lexacom RDP Server into the Remote Desktop System tray in the bottom right corner of the Remote Desktop
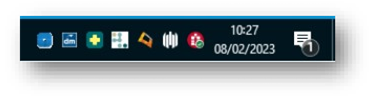
- You will see the Lexacom Logo in the System tray and if you move the move over it will read Lexacom RDP Server.
- Start Vision
- Login to Vision
- Open Consultation Manager
- Select your Patient
- Return to your Local Desktop
- Start Lexacom 3
- Login to Lexacom 3
- After login in the bottom right of the Lexacom Window you will see “Connected to Vision”
Migration to the new Vision clinical system complete
At this stage, Lexacom 3 should now be connected to Vision with a working integration.
If anything isn’t working correctly for you, please do get in touch with our technical support team on 01295 236910 (option 3) or helpdesk@lexacom.co.uk and we will be happy to assist you.